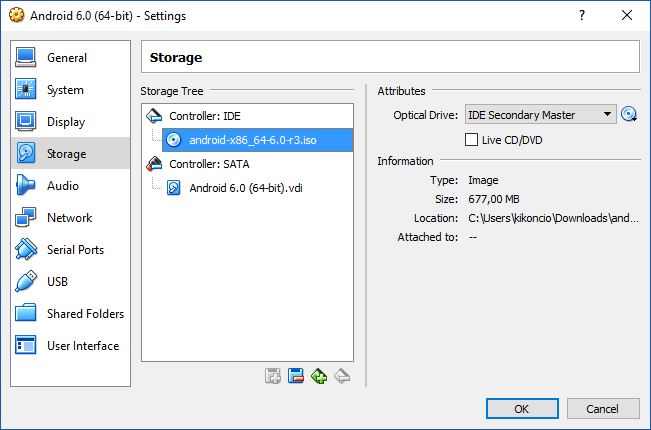
Virtual hard drive Setup for SDCARD Support
suggest changeWith the virtual hard drive just created, boot the virtual machine with the android-x86 image in the optical drive.
Once you boot, you can see the grub menu of the Live CD
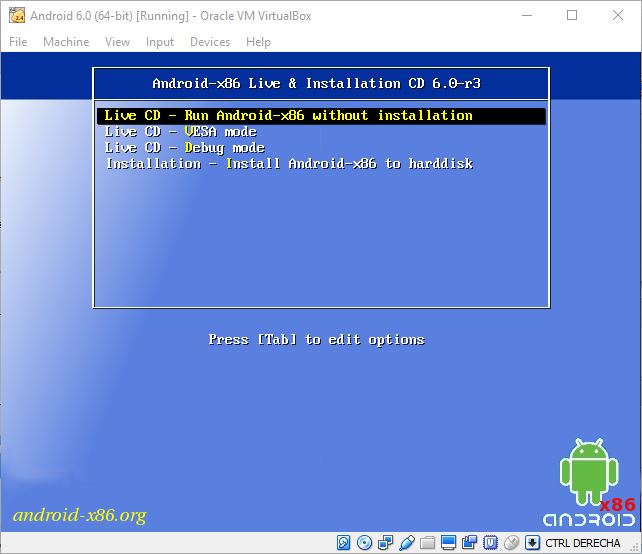
Choose the Debug Mode Option, then you should see the shell prompt. This is a busybox shell. You can get more shell by switching between virtual console Alt-F1/F2/F3.
Create two partitions by fdisk (some other versions would use cfdisk). Format them to ext3. Then reboot:
# fdisk /dev/sdaThen type:
“n” (new partition)
“p” (primary partition)
“1” (1st partition)
“1” (first cylinder)
“261” (choose a cylinder, we’ll leave 50% of the disk for a 2nd partition)
“2” (2nd partition)
“262” (262nd cylinder)
“522” (choose the last cylinder)
“w” (write the partition)
#mdev -s
#mke2fs -j -L DATA /dev/sda1
#mke2fs -j -L SDCARD /dev/sda2
#reboot -f
When you restart the virtual machine and the grub menu appears and you will be able edit the kernel boot line so you can add DATA=sda1 SDCARD=sda2 options to point to the sdcard or the data partition.