Custom Cells
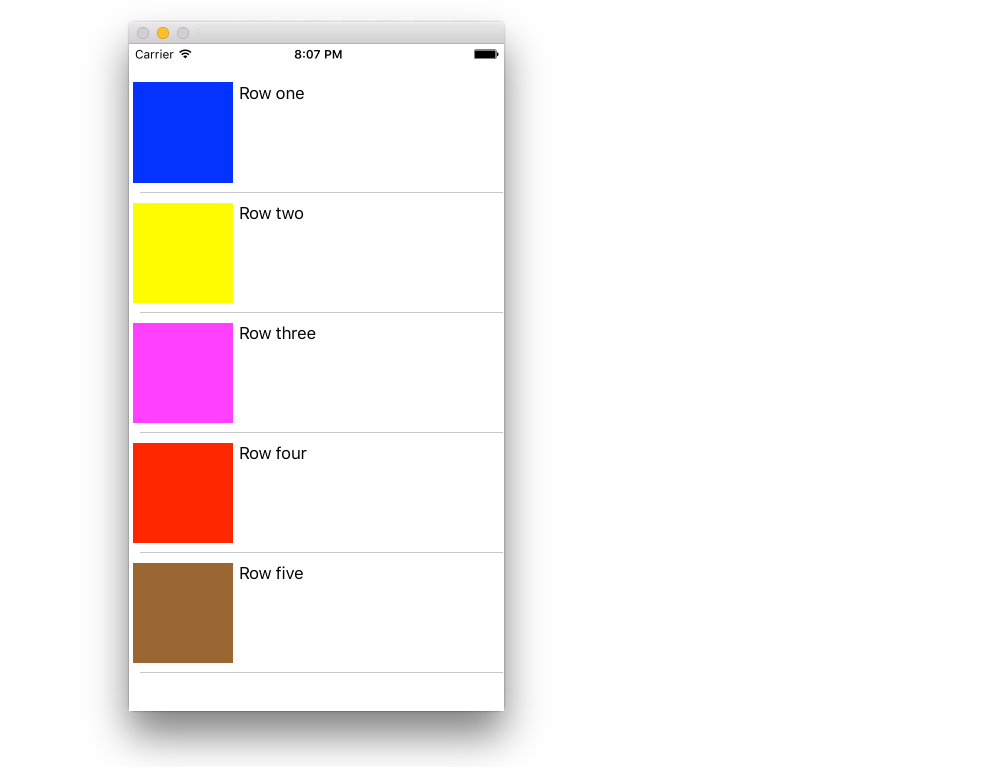
suggest changeCustomizing a UITableViewCell can allow for very powerful, dynamic, and responsive interfaces. With extensive customization and in combination with other techniques you can do things like: update specific properties or interface elements as they change, animate or draw things in the cell, efficiently load video as the user scrolls, or even display pictures as they download from a network. The possibilities here are nearly endless. Below is a simple example of what a custom cell may look like.
This section covers the basics, and hopefully will be expanded to detail more complex processes like those described above.
Creating Your Custom Cell
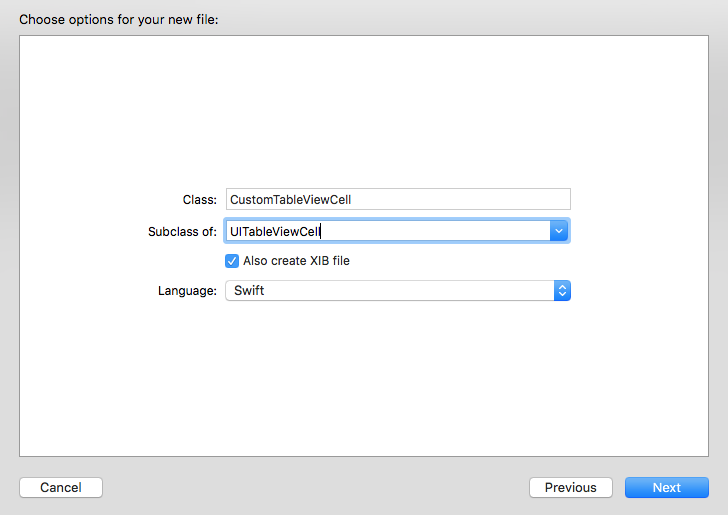
First, create a new subclass of UITableViewCell (create a new Cocoa Touch Class in Xcode and set UITableViewCell as the superclass). Below is what your code may look like after subclassing.
Swift
class CustomTableViewCell: UITableViewCell {
    static var identifier: String {
        return NSStringFromClass(self)
    }

    var customLabel: UILabel!
override func awakeFromNib() {
super.awakeFromNib()
// Initialization code
customLabel = UILabel(frame: CGRect(x: 0, y: 0, width: contentView.frame.width, height: contentView.frame.height))
customLabel.textAlignment = .center
contentView.addSubview(customLabel)
}
}Optionally, check ‘Also create a XIB file’ when creating your new file to customize using Interface Builder. In the case that you do, connect customLabel as an @IBOutlet
In a UIViewController containing the tableView, register the new custom cell’s class (see below). Note, this is only necessary if you do not design the cell with a Storyboard in your table view’s interface.
Swift
override func viewDidLoad() {
    super.viewDidLoad()

    // Register Cell Class
    tableView.register(CustomTableViewCell.self, forCellReuseIdentifier: CustomTableViewCell.identifier)
}
If you chose to use a XIB file, registerNib instead:
Swift
// Register Nib
tableView.register(UINib(nibName: CustomTableViewCell.identifier, bundle: nil), forCellReuseIdentifier: CustomTableViewCell.identifier)
Now that your tableView knows about your custom cell, you can dequeue it in cellForRowAtIndexPath:
Swift
func tableView(tableView: UITableView, cellForRowAtIndexPath indexPath: NSIndexPath) -> UITableViewCell {
    // Load the CustomTableViewCell. Make sure the identifier supplied here matches the one from your cell
    let cell: CustomTableViewCell = tableView.dequeueReusableCellWithIdentifier(CustomTableViewCell.identifier) as! CustomTableViewCell

    // This is where the magic happens - setting a custom property on your very own cell
    cell.customLabel.text = "My Custom Cell"

    return cell
}