Hello World
suggest changeAfter setting up Xcode, it is not difficult to get your first iOS up and running.
In the following example we will:
- Start a new project
- Add a label
- Printing message to console.
- Run in the simulator
Starting a new project
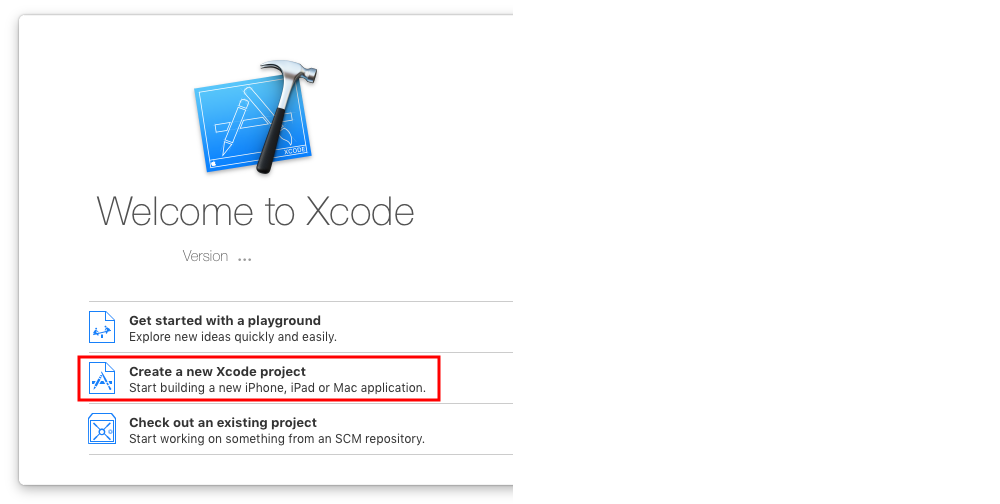
When the Xcode welcome screen comes up, choose Create a new Xcode project. Alternatively, you could do File > New > Project… from the Xcode menu if you already have it open.
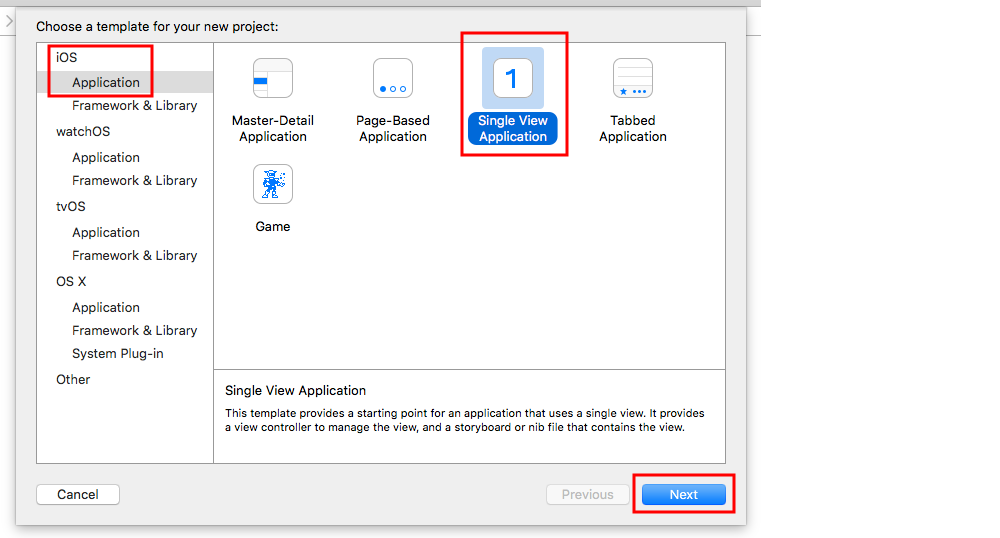
Choose a Single View Application and click Next.
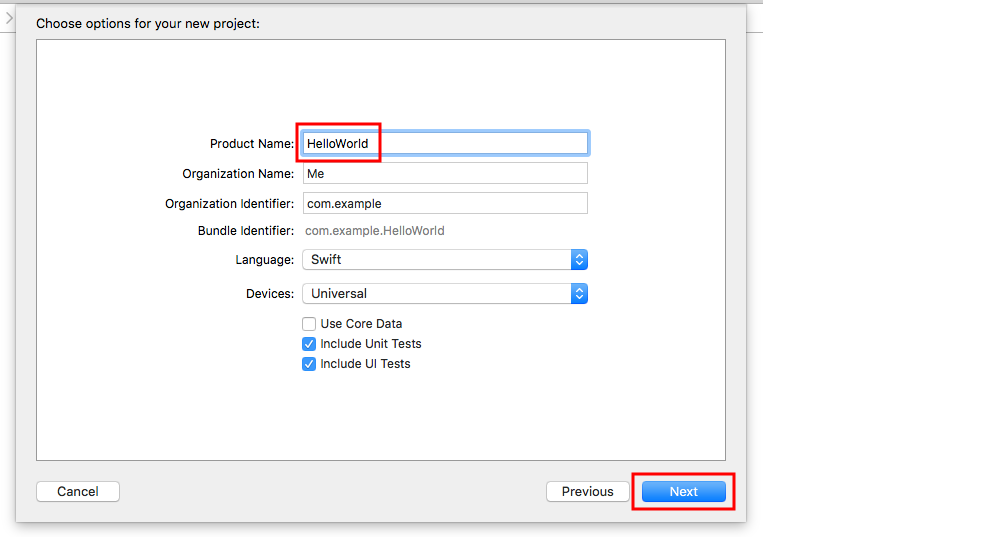
Write “HelloWorld” for the Product Name (or whatever you want really) and under Language, make sure Swift is selected.
- Universal means that your app will run on both the iPhone and iPad.
- Use Core Data refers to persistent data storage, which is not needed in our Hello World app.
- We will not be doing Unit Tests or UI Tests in this example, but it doesn’t hurt to get into the habit of adding them.
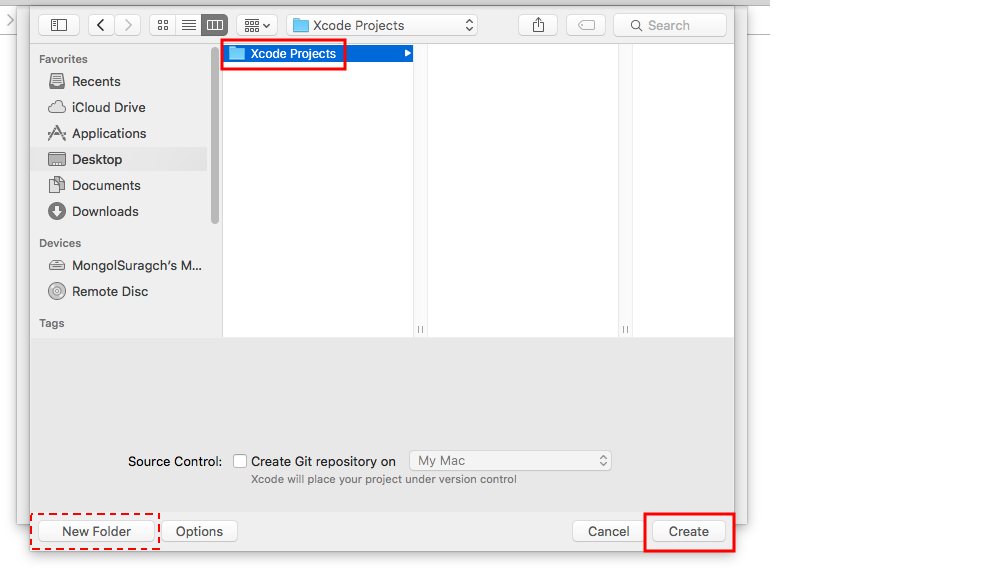
Choose an existing folder or create a new one where you will save your Xcode projects. This will be the default in the future. We created one here called “Xcode Projects”. Then click Create. You can select Source Control if you like (used when syncing to sites like GitHub), but we won’t be needing it in this example.
Adding a label
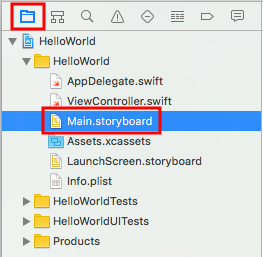
This is the file structure of an Xcode project.
Select Main.storyboard in the Project Navigator.
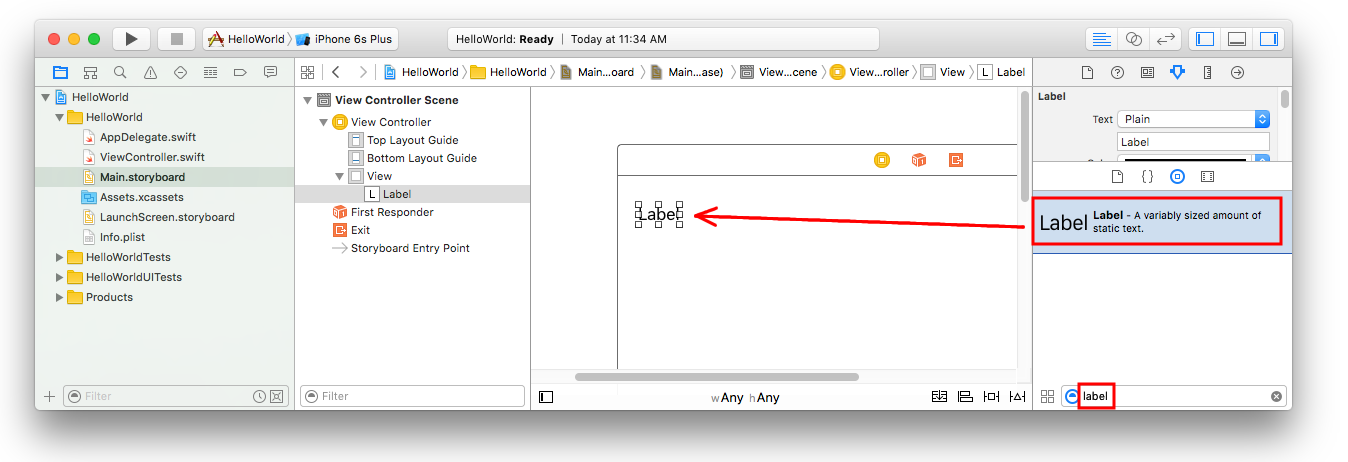
Type “label” in the search field of the Object Library in the bottom right of Xcode. Then drag the UILabel onto the storyboard View Controller. Place it generally in the region of the top left corner.
Make sure the label is selected on the storyboard and then in the Attributes Inspector, change the text to “Hello, World!” You will then have to resize and reposition the label on the storyboard since the text length is longer now.
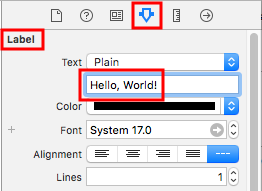
Alternatively, double-click the label on the storyboard to edit it to be “Hello, World!”. At any rate, the storyboard should look something like this:

Adding Code
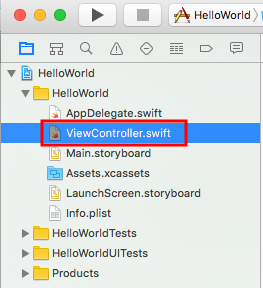
Select ViewController.swift in the Project Navigator.
Add print("Successfully created my first iOS application.") to the viewDidLoad() method. It should look something like this.
import UIKit

class ViewController: UIViewController {
override func viewDidLoad() { super.viewDidLoad()
// print to the console when app is run
print("Successfully created my first iOS application.")
}
override func didReceiveMemoryWarning() { super.didReceiveMemoryWarning() // Dispose of any resources that can be recreated. }
}Running the app in the simulator

Press the Run button to build and run the app. In this example the current simulator device (referred to as a “scheme”) defaulted to the iPhone 6s Plus. Newer versions of Xcode will default to newer schemes. You can also choose other schemes by clicking the name. We will just stick with the default.
The simulator will take some time to start on the first run. Once running, it should look like this:

In the simulator menu, you can choose Window > Scale to make it smaller, or press ⌘cmd + 1/2/3/4/5 for 100% / 75% / 50% / 33% / 25% scale respectively..
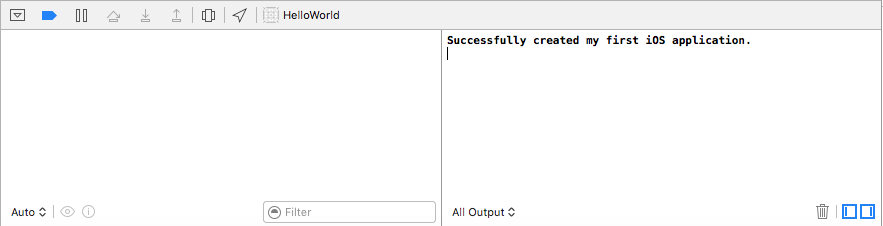
The Xcode debug area (at the bottom) should have also printed “Successfully created my first iOS application.” to the console. “Successfully created my first iOS application.” message is the string you printed programmatically in the Add code part.
Going on
You should learn about Auto Layout constraints next. These help you to position your controls on the storyboard so that they look good on any device size and orientation.