Wiring elements
suggest changeCreate a XIB file
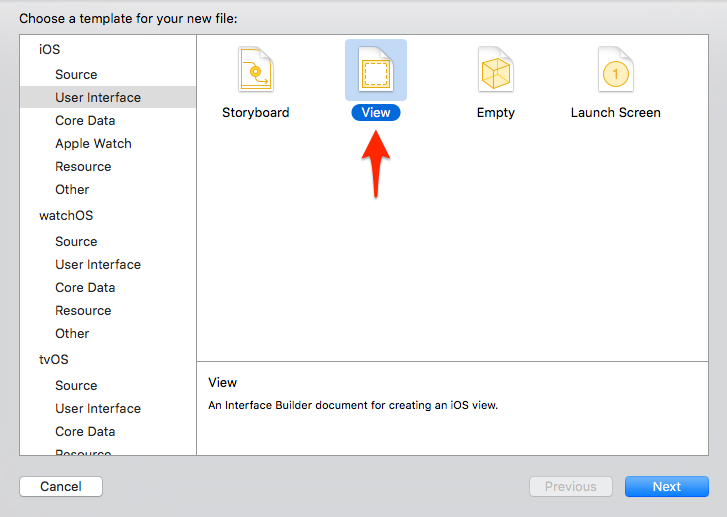
Xcode Menu Bar > File > New > File.
Select iOS, User Interface and then “View”:
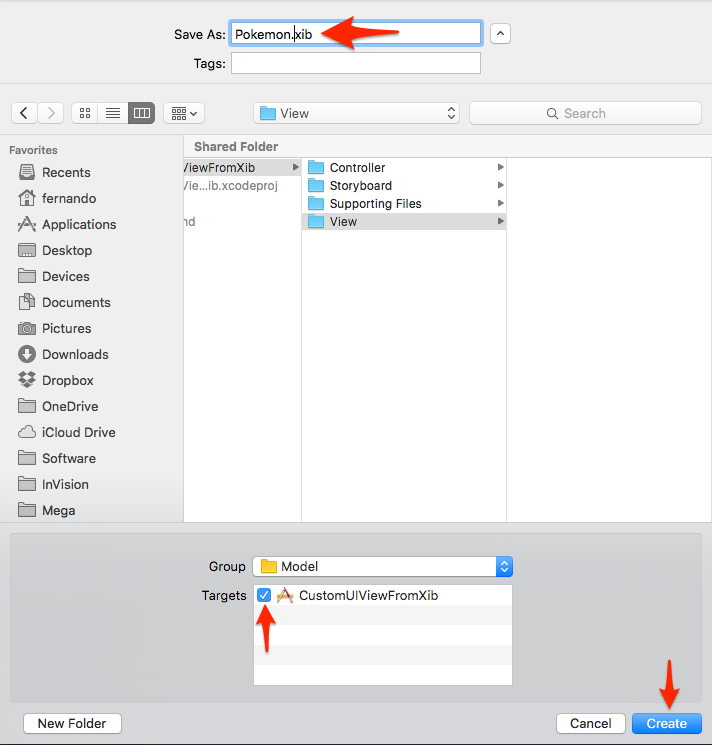
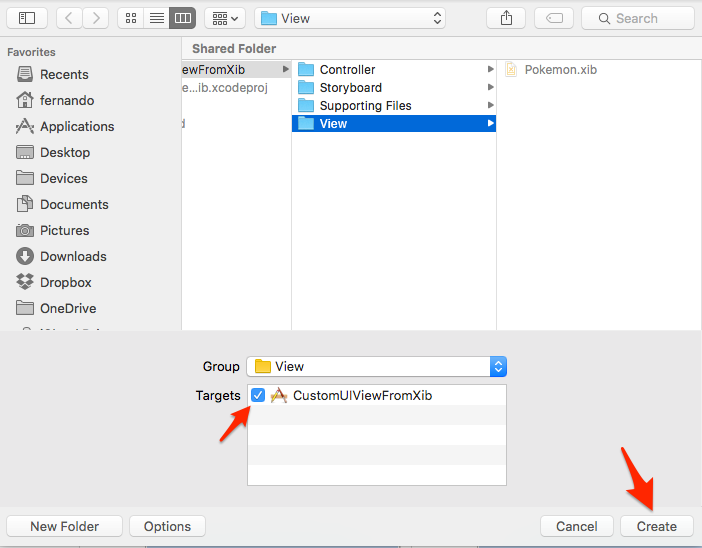
Give your XIB a name (yes, we are doing a Pokemon example 👾).
Remember to check your target and hit “Create”.
Design your view
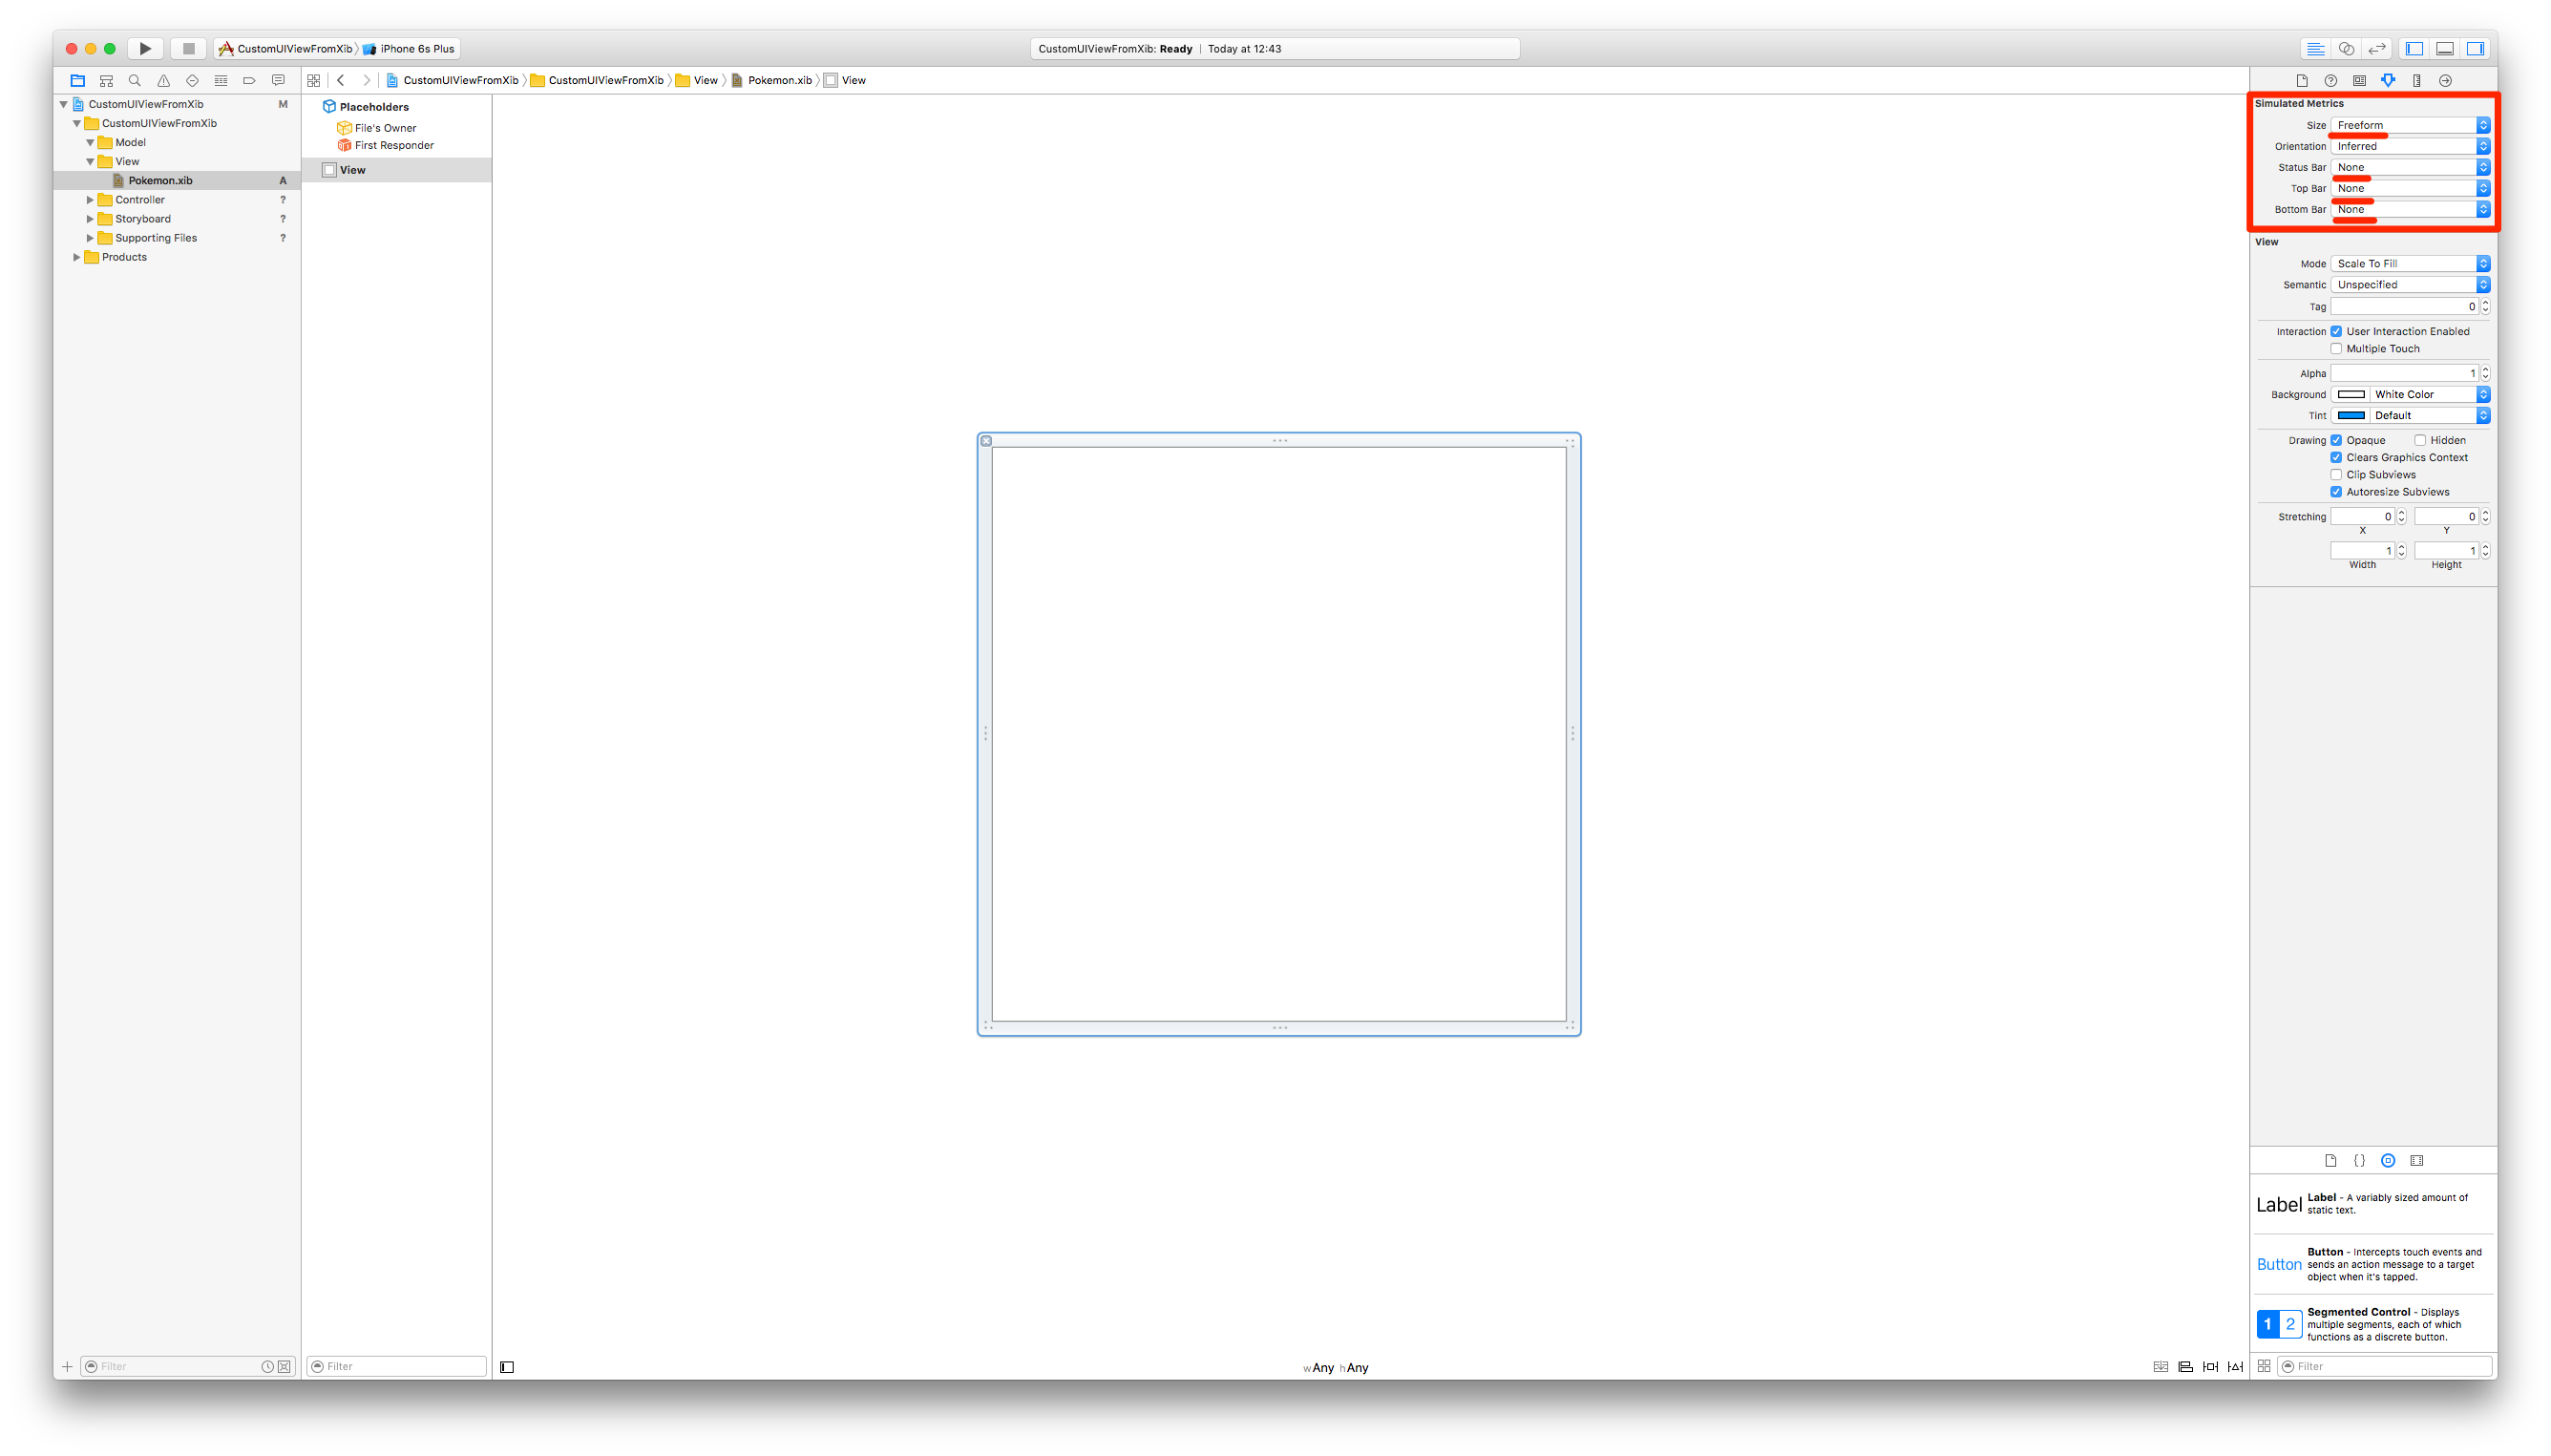
To make things easier, set:
- Size: Freeform
- Status Bar: None
- Top Bar: None
- Bottom Bar: None
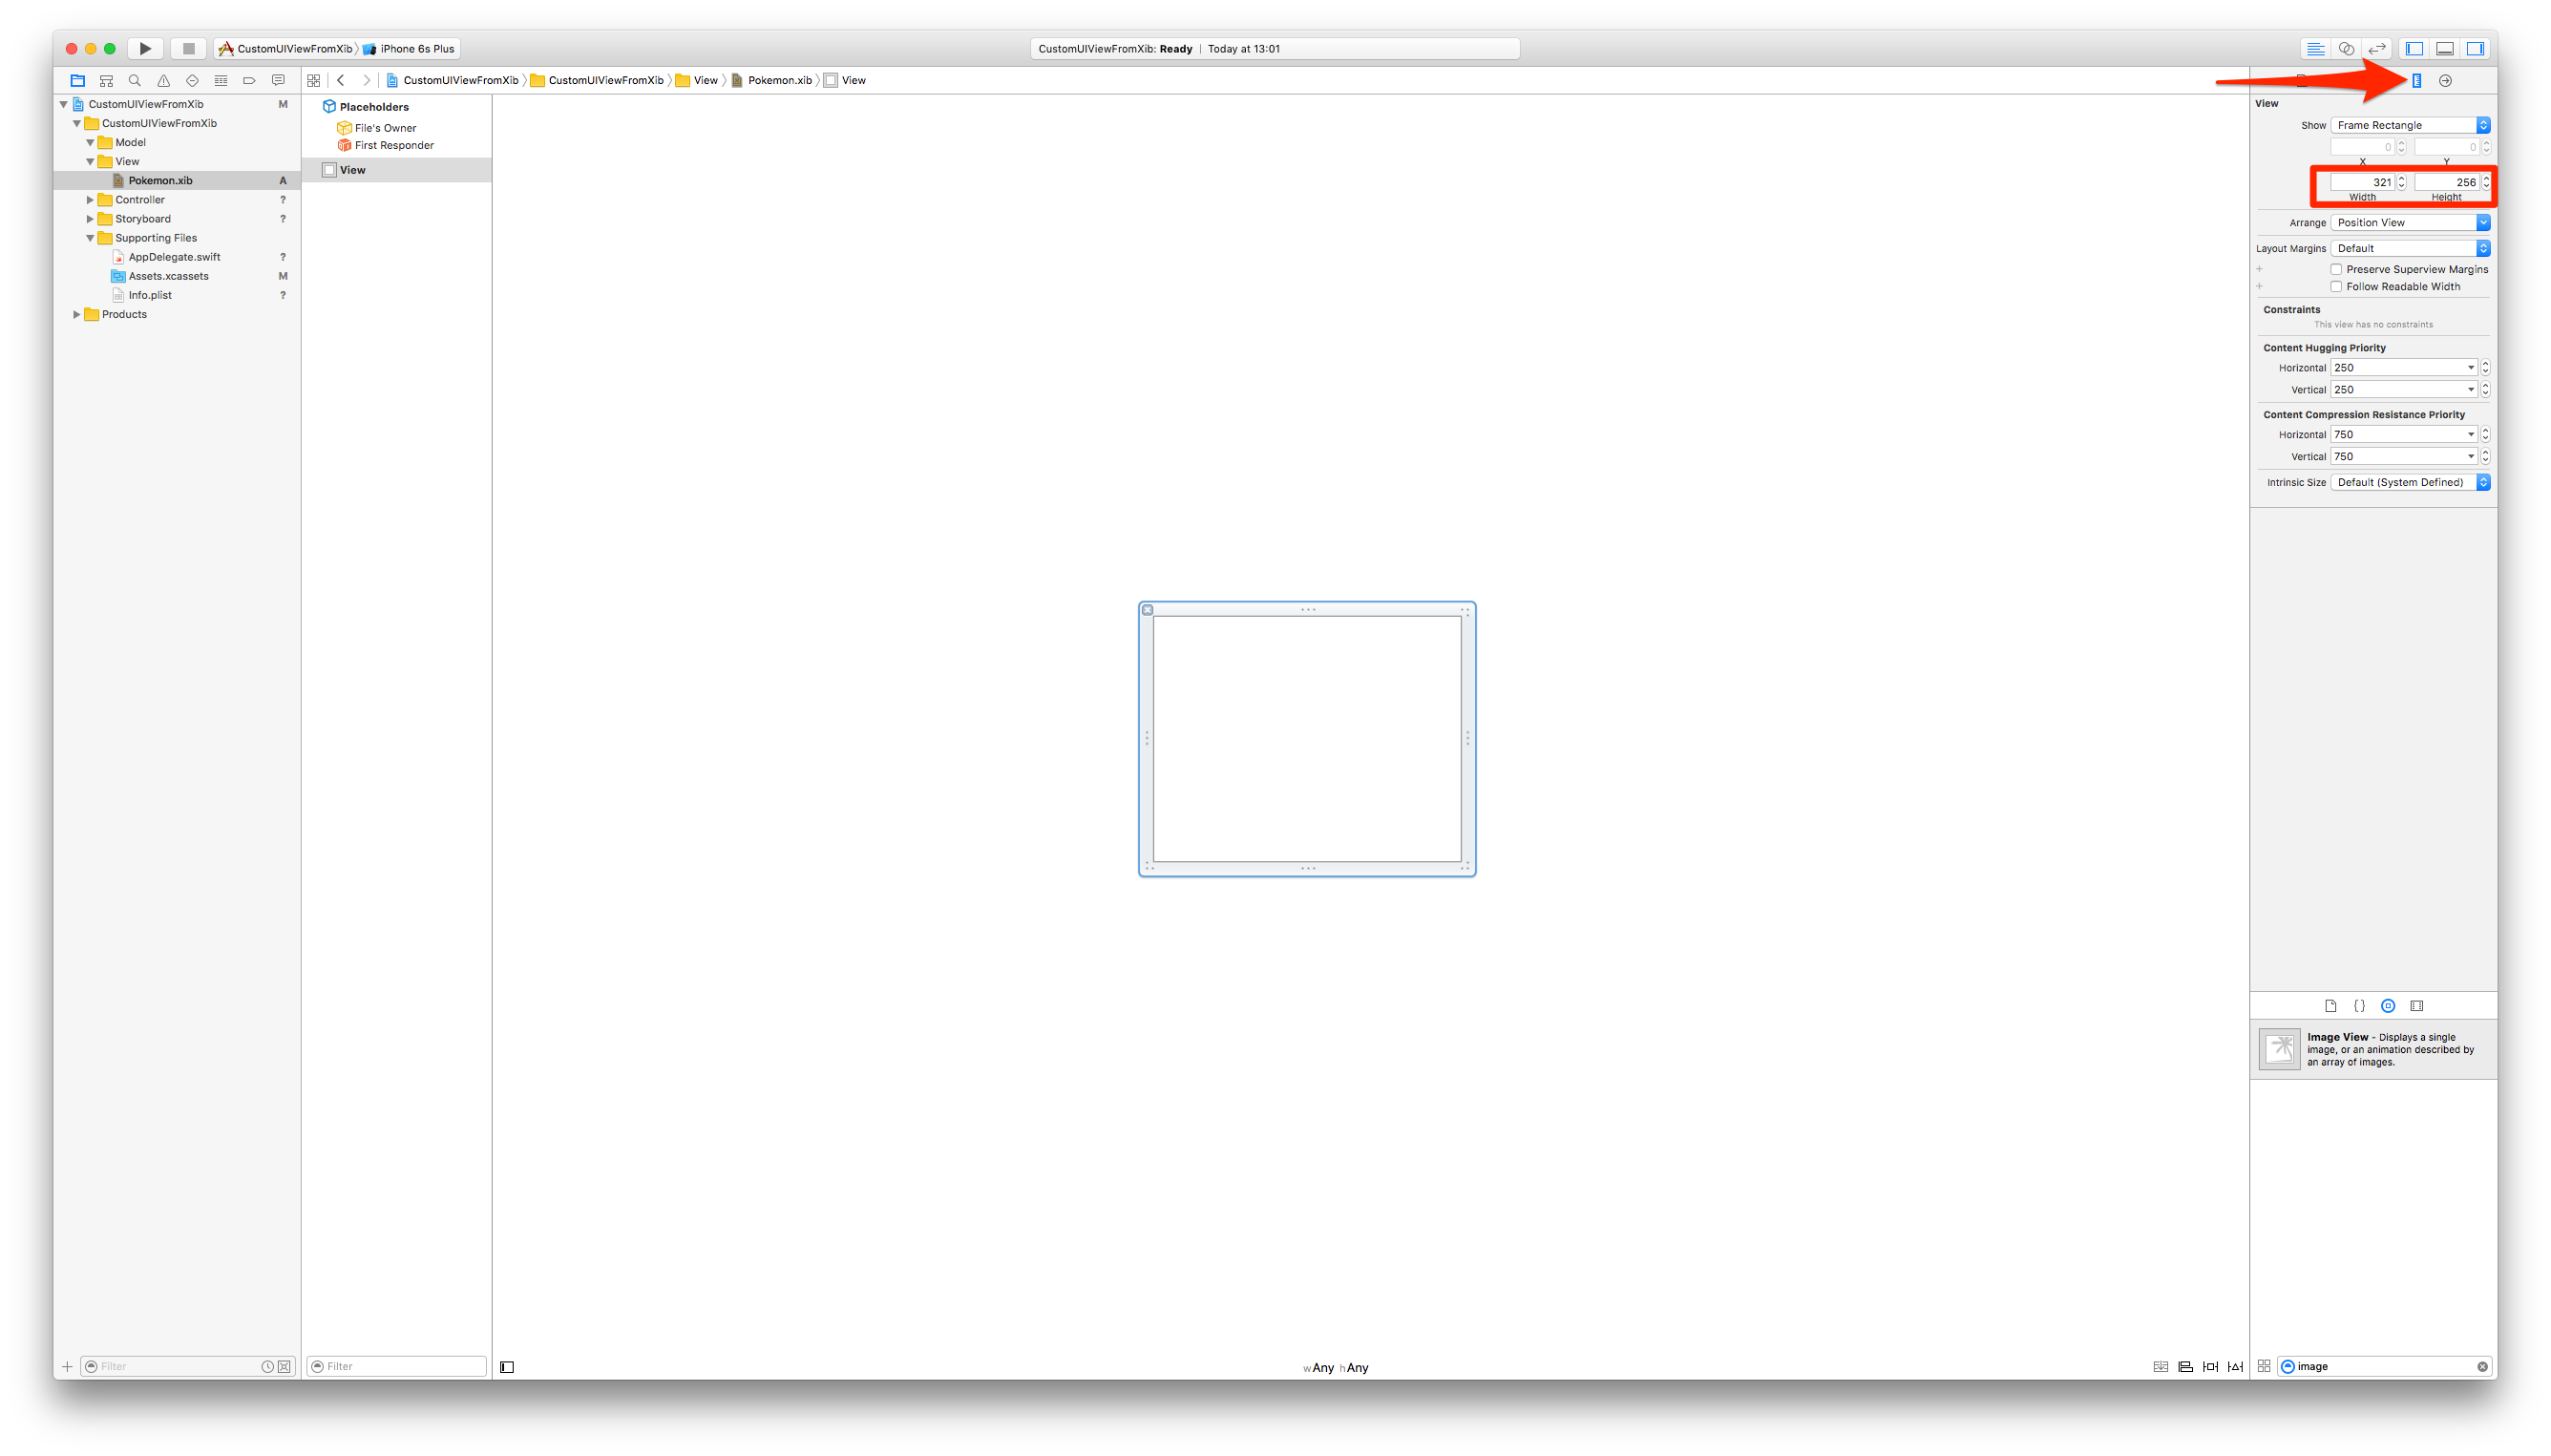
Click on the Size Inspector and resize the view.
For this example we’ll be using width 321 and height 256.
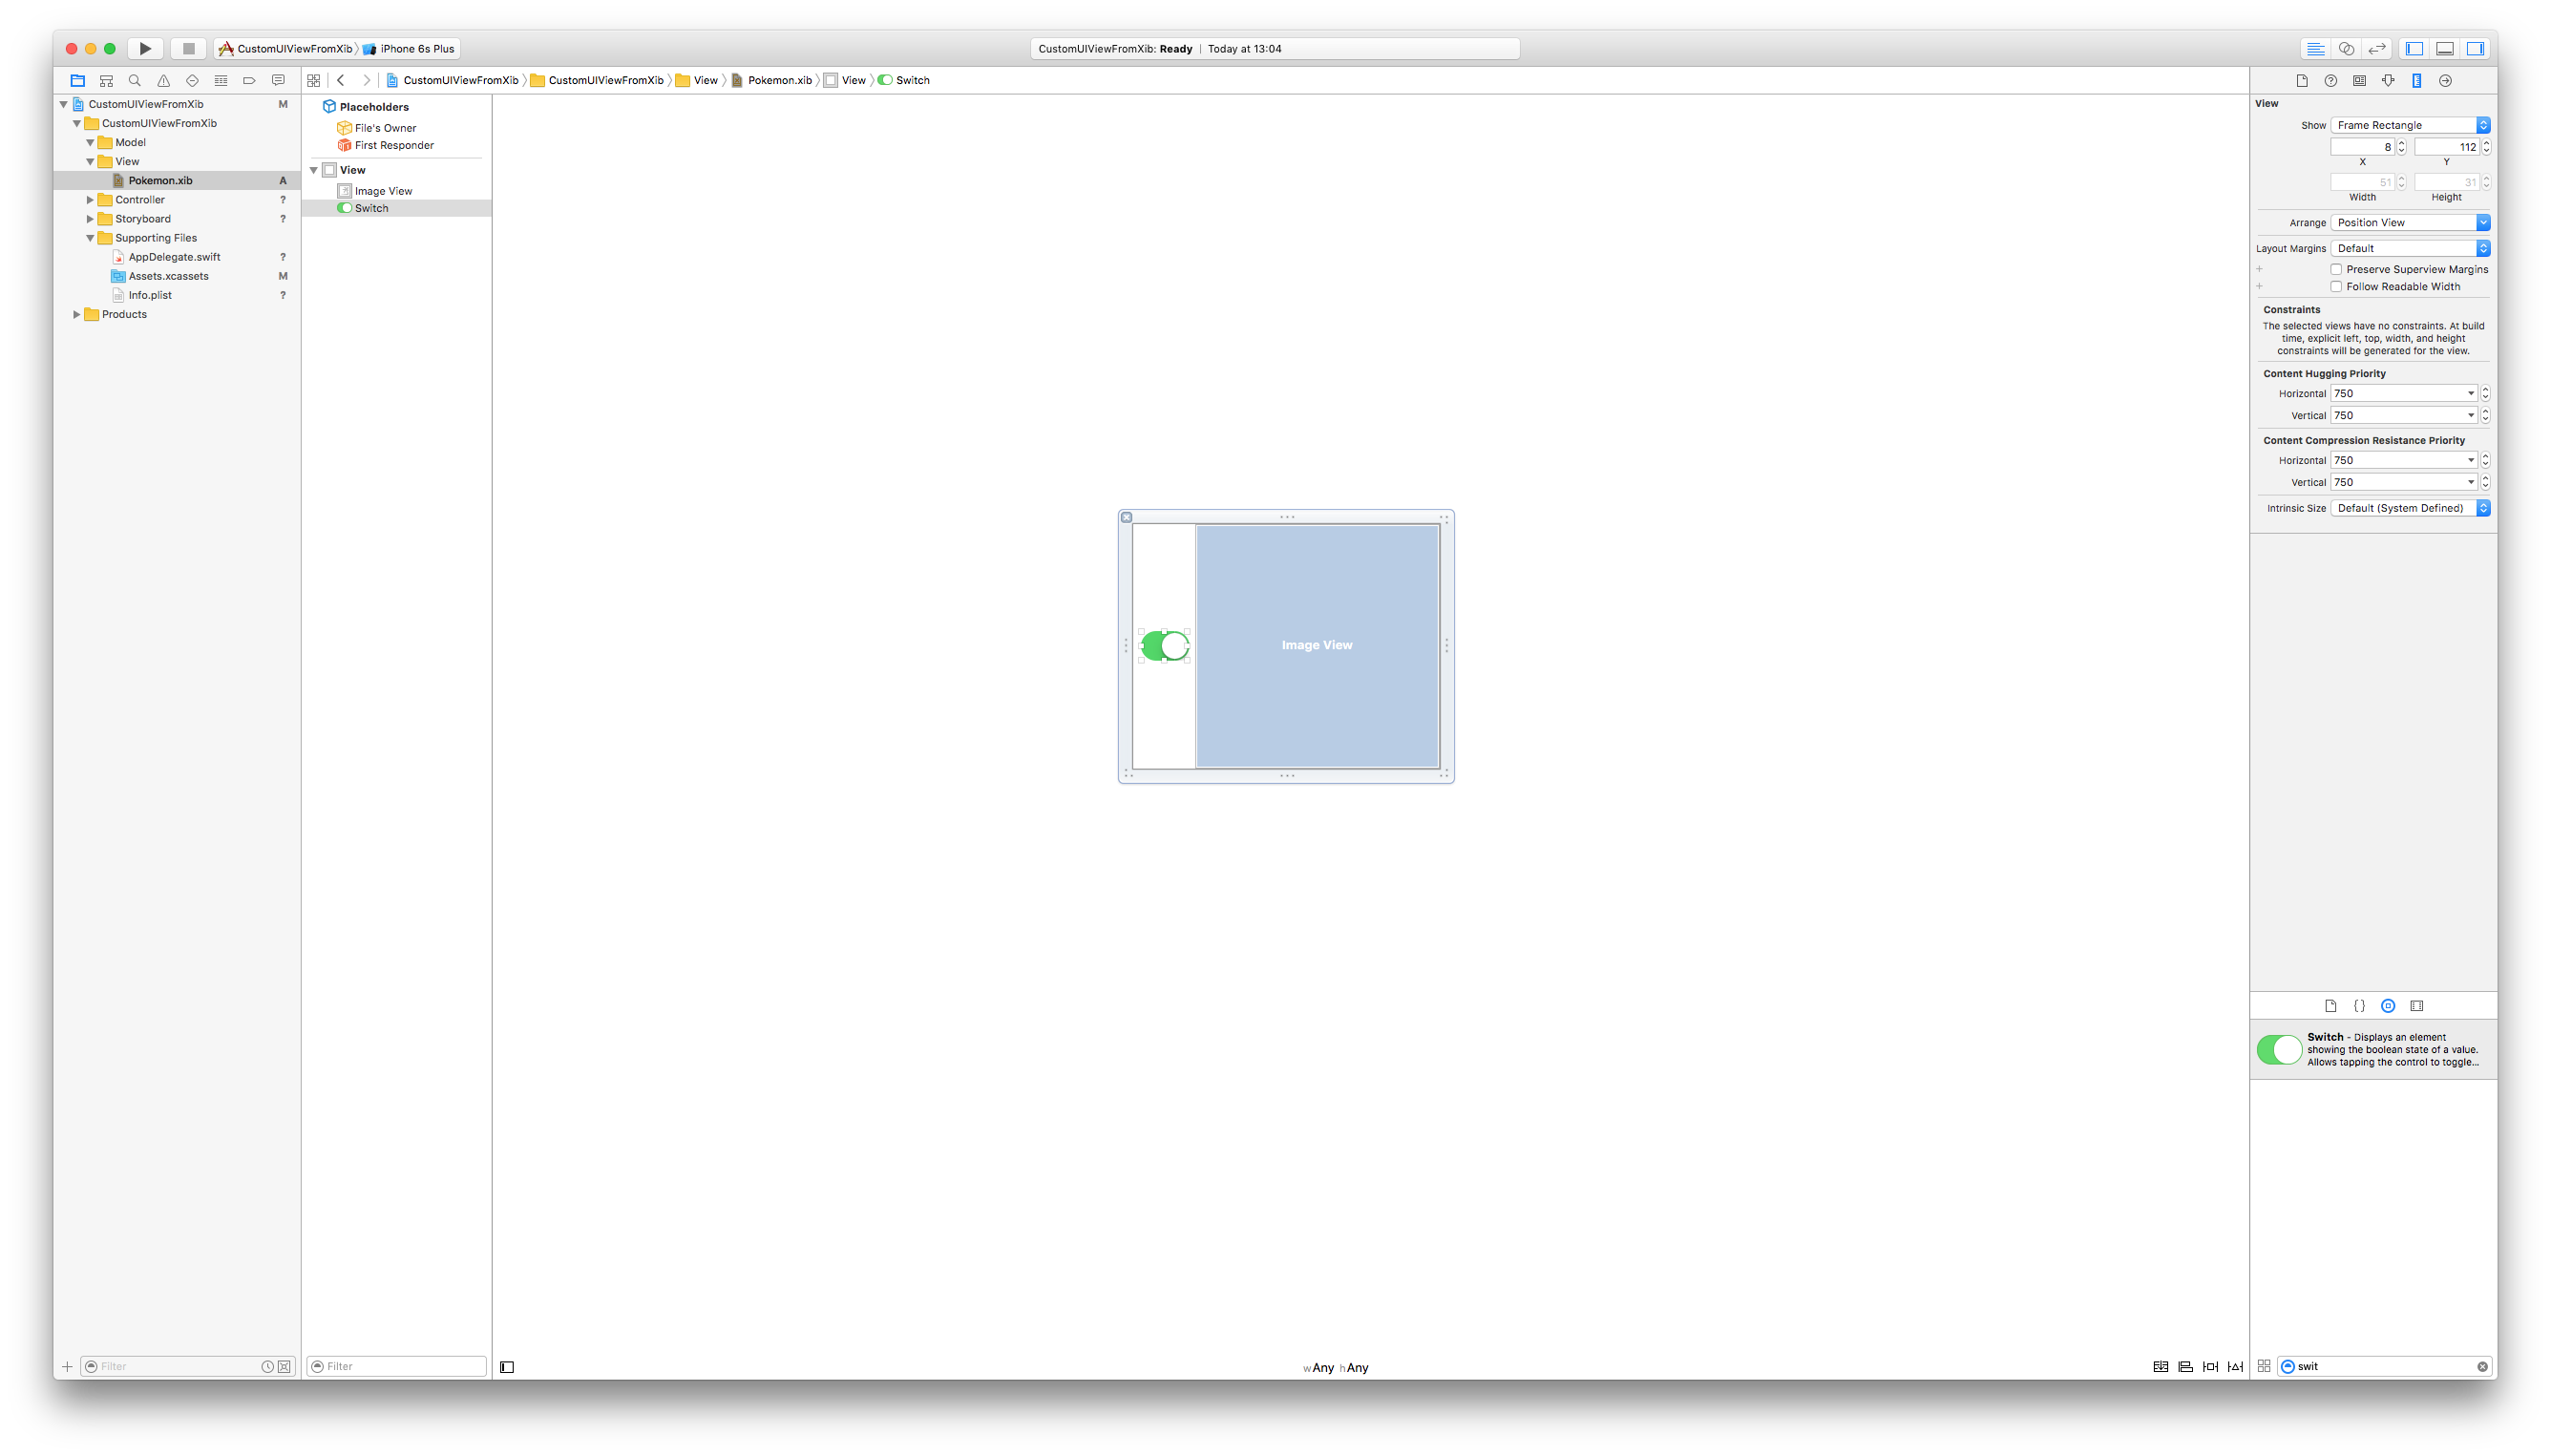
Drop some elements into your XIB file like shown below.
Here we’ll be adding an Image View (256x256) and a Switch.
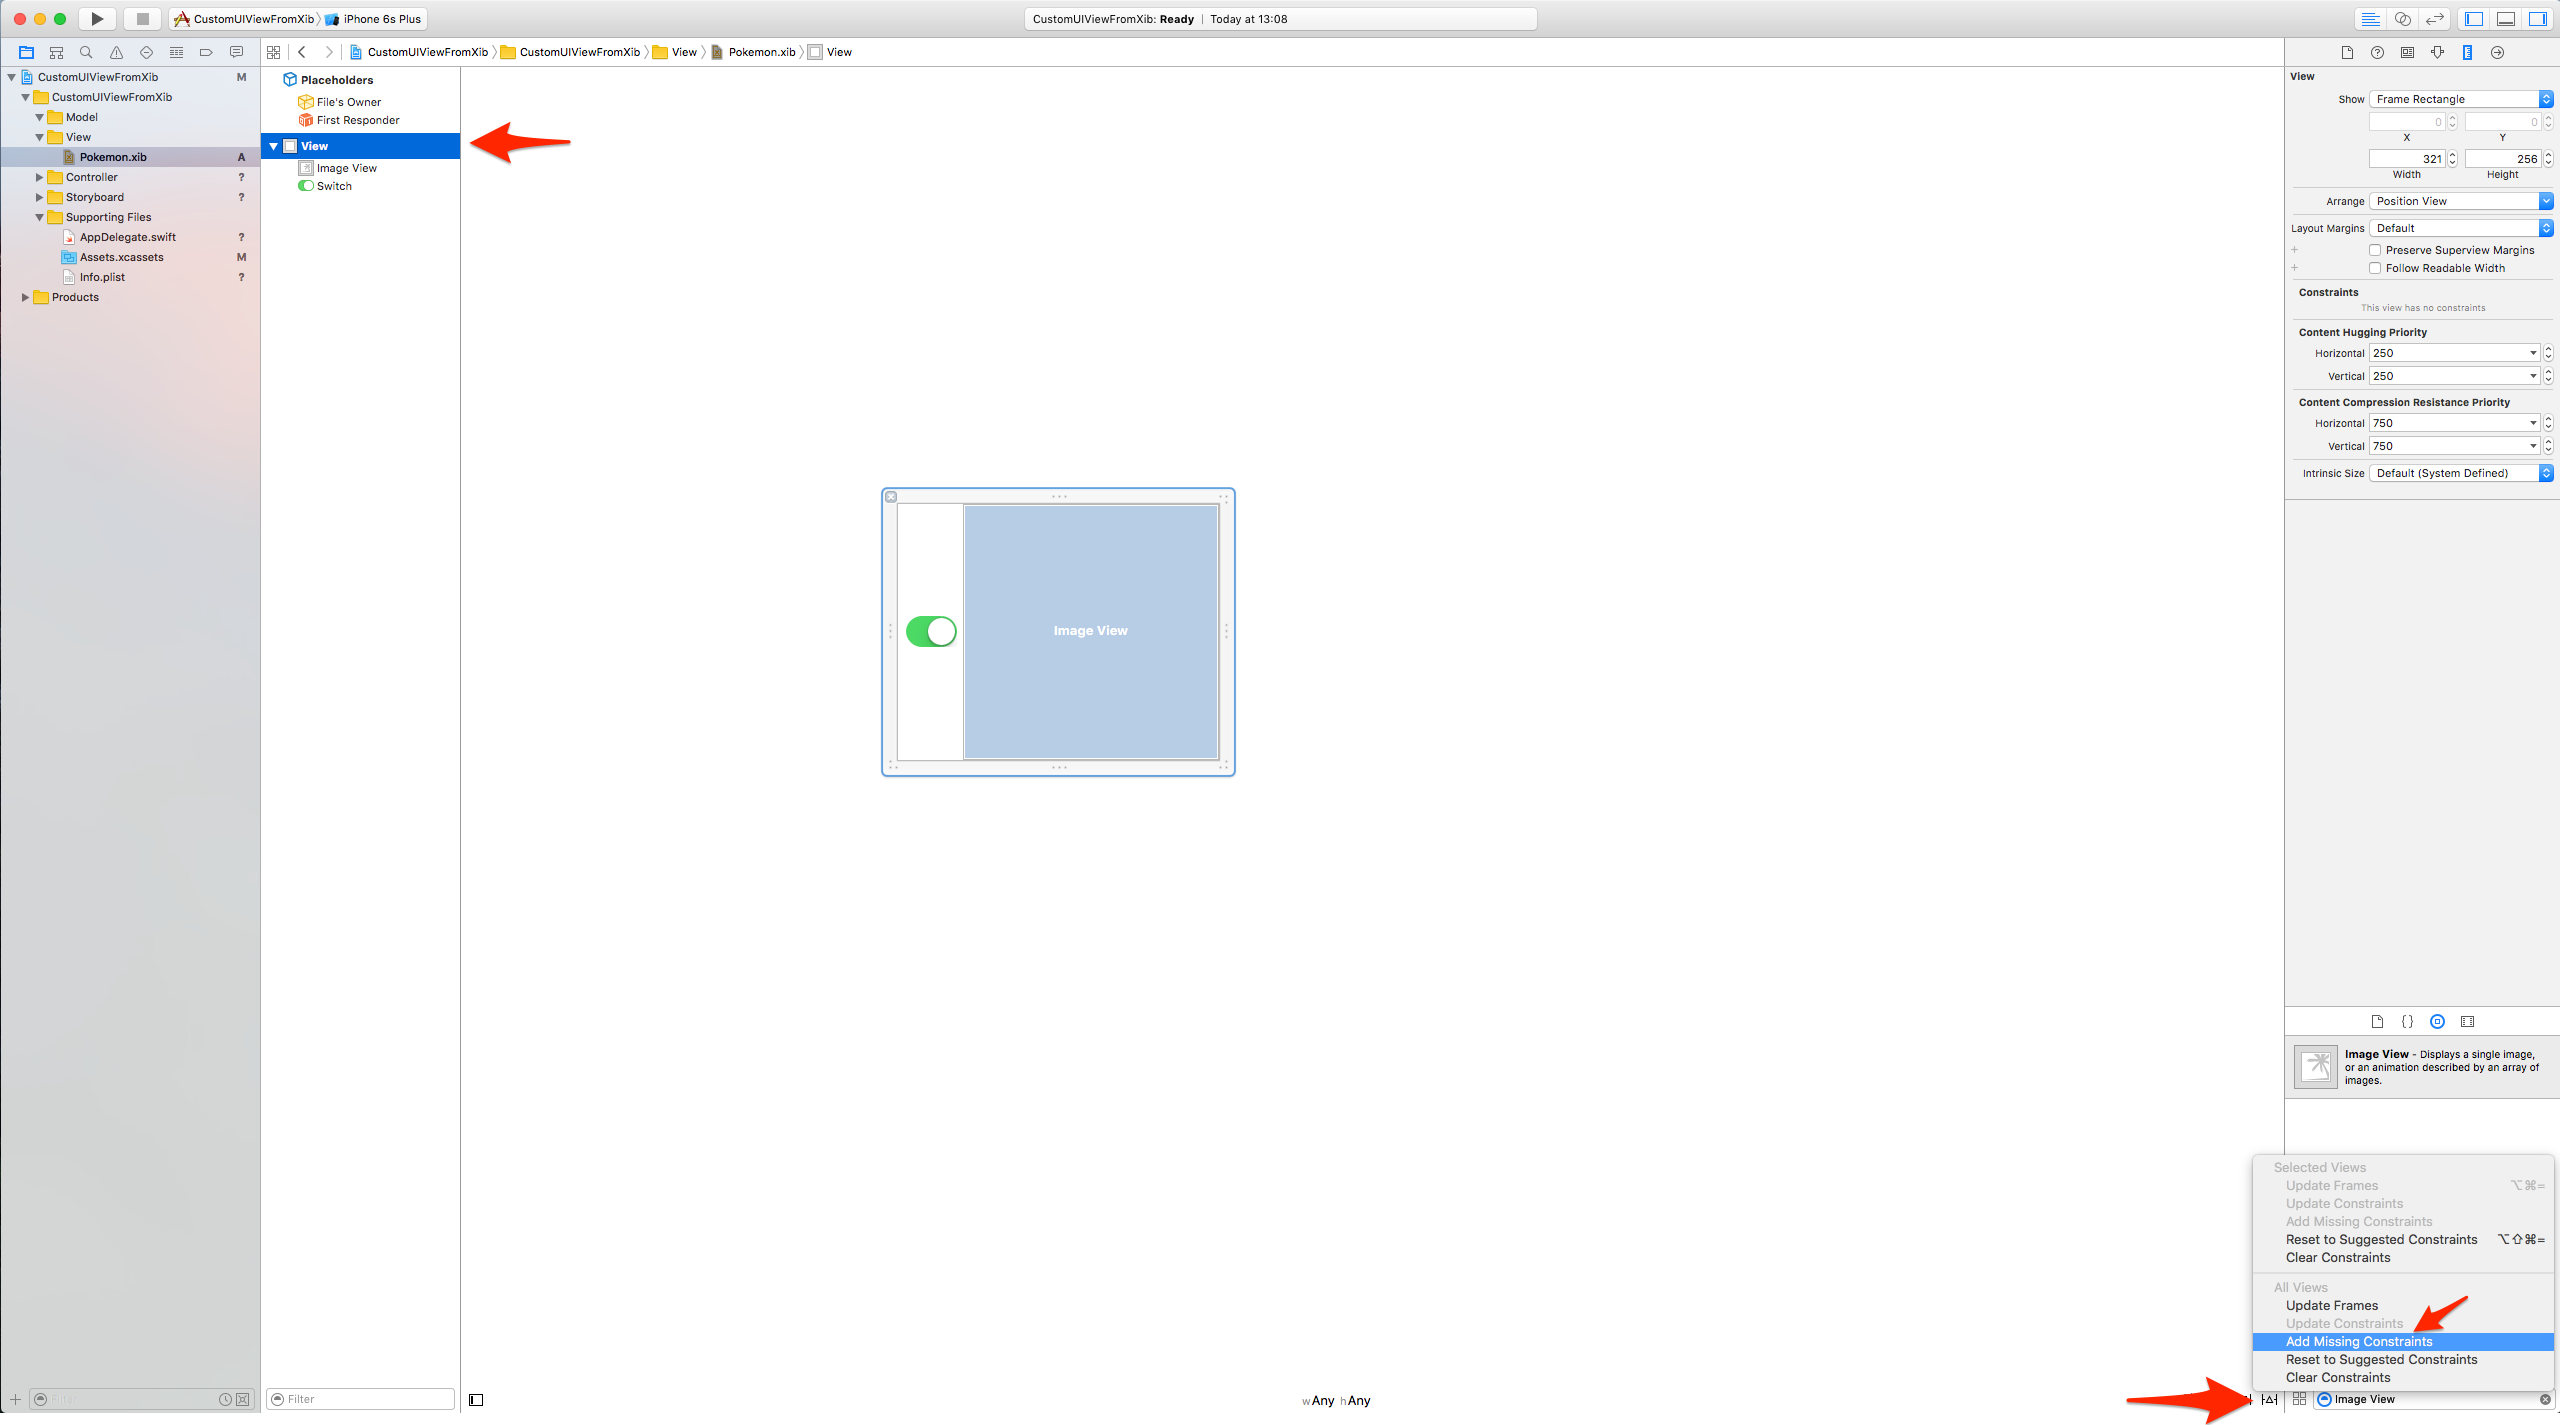
Add Auto-Layout constraints by clicking on “Resolve Auto Layout Issues” (bottom-right) and selecting “Add Missing Constraints” under “All Views”.
Preview the changes you made by clicking on “Show the Assistant Editor” (top-right), then “Preview”.
You can add iPhone screens by clicking on the “Plus” button.
The preview should look like this:

Subclass UIView
Create the class that is going to manage the XIB file.
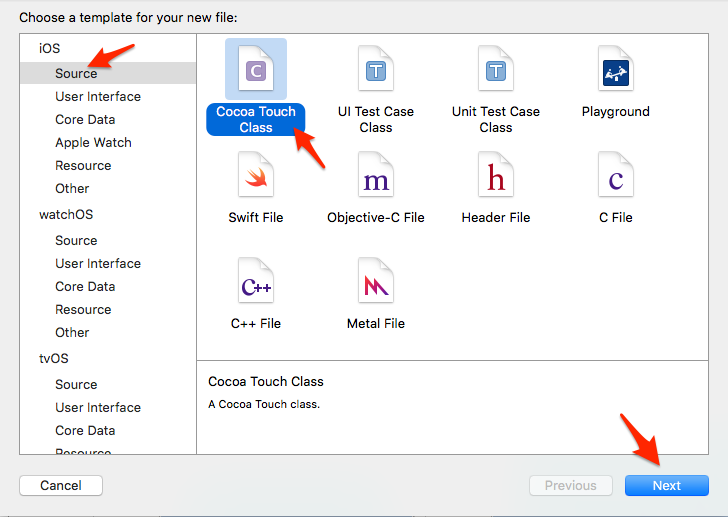
Xcode Menu Bar > File > New > File.
Select iOS / Source / Cocoa Touch Class. Hit “Next”.
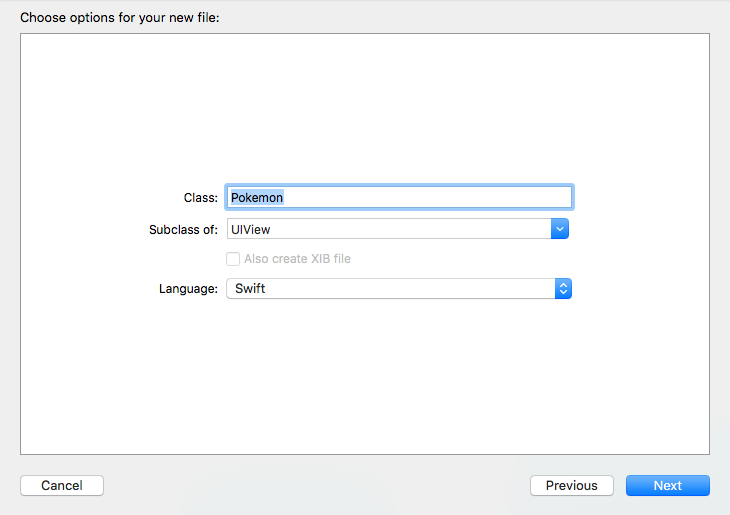
Give the class a name, which must be the same name as the XIB file (Pokemon).
Select UIView as the subclass type, then hit “Next”.
On the next window, select your target and hit “Create”.
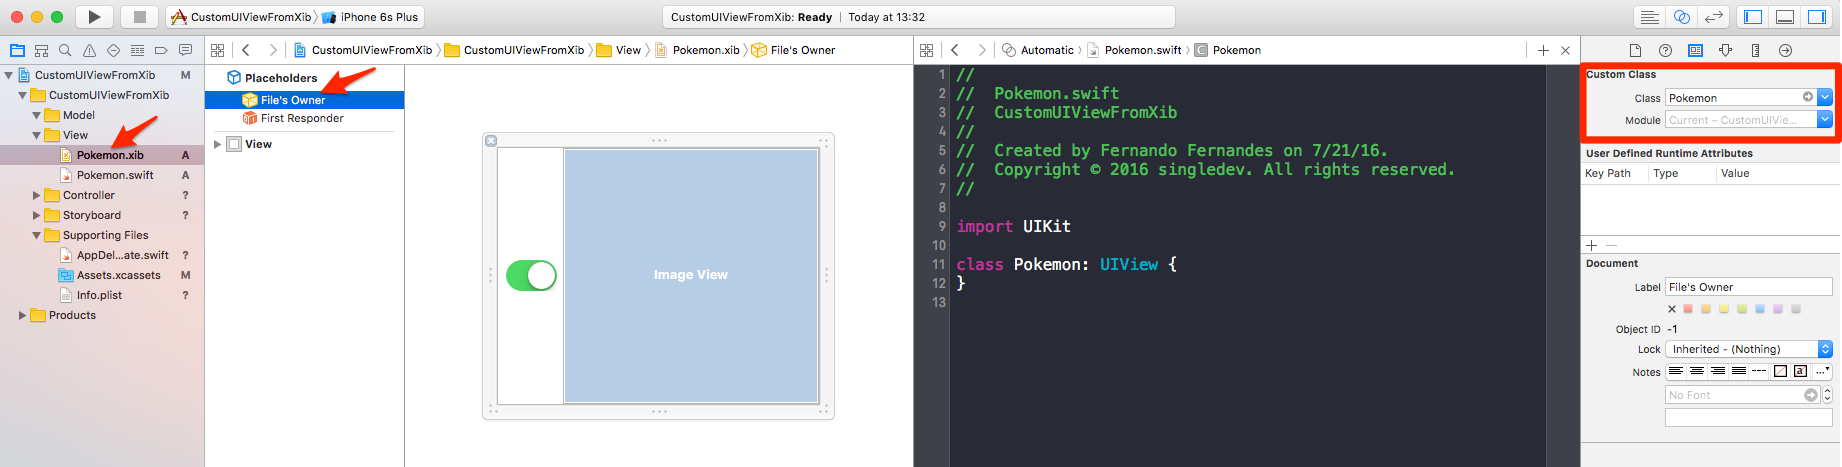
Connect Pokemon.xib to Pokemon.swift via “File’s Owner” attribute
Click on the Pokemon.xib file in Xcode.
Click on the “File’s Owner” outlet.
On the “Identity inspector” (top-right), set the Class to our recently created Pokemon.swift file.
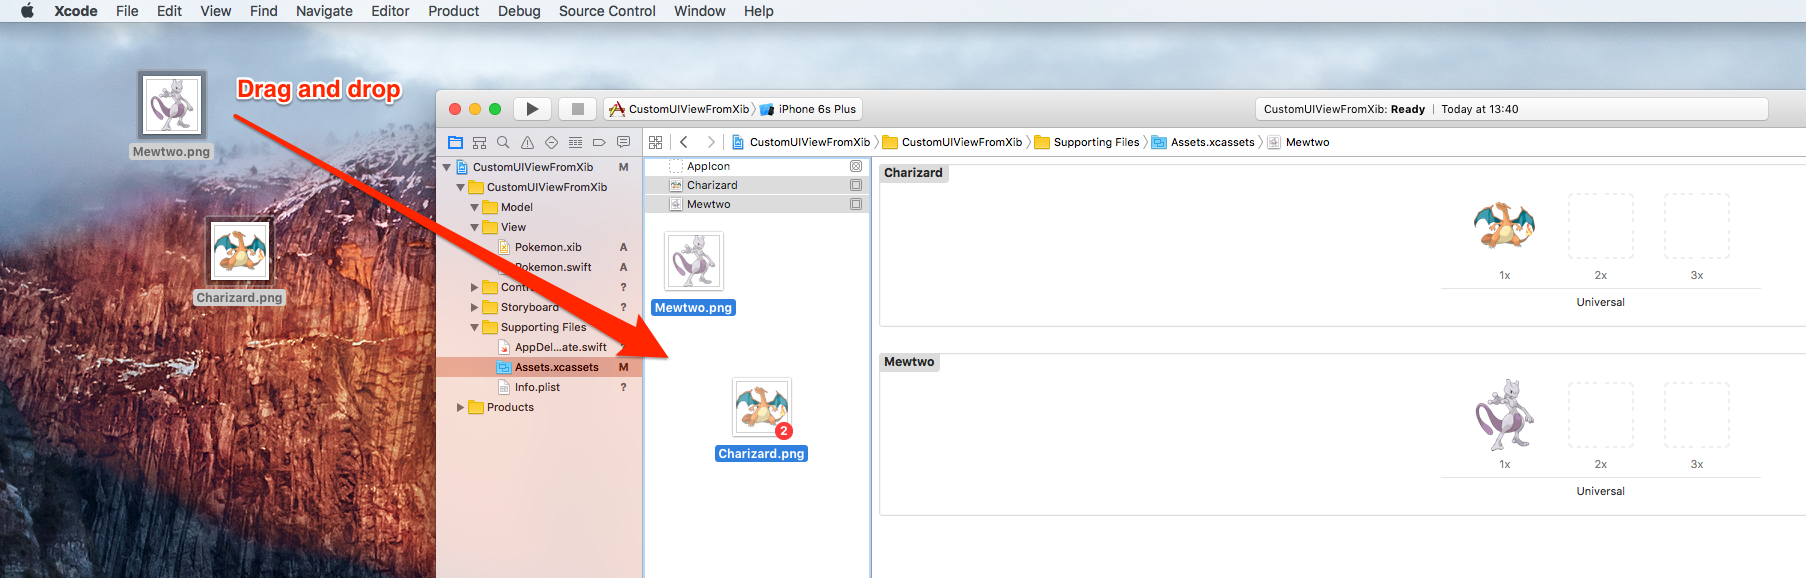
POKEMONS!!!
Yes! Drag and drop some Pokemons into your project to finish up our “infrastructure”.
Here we are adding two PGN files, 256x256, transparent.
Show me code already.
All right, all right.
Time to add some code to our Pokemon.swift class.
It’s actually pretty simple:
- Implement required initializers
- Load the XIB file
- Configure the view that will display the XIB file
- Show the above view
Add the following code to the Pokemon.swift class:
import UIKit

class Pokemon: UIView {

    // MARK: - Initializers

    override init(frame: CGRect) {
        super.init(frame: frame)
        setupView()
    }

    required init?(coder aDecoder: NSCoder) {
        super.init(coder: aDecoder)
        setupView()
    }

    // MARK: - Private Helper Methods

    // Performs the initial setup.
    private func setupView() {
        let view = viewFromNibForClass()
        view.frame = bounds

        // Auto-layout stuff.
        view.autoresizingMask = [
            UIViewAutoresizing.flexibleWidth,
            UIViewAutoresizing.flexibleHeight
        ]

        // Show the view.
        addSubview(view)
    }

    // Loads a XIB file into a view and returns this view.
    private func viewFromNibForClass() -> UIView {

        let bundle = Bundle(for: type(of: self))
        let nib = UINib(nibName: String(describing: type(of: self)), bundle: bundle)
        let view = nib.instantiate(withOwner: self, options: nil).first as! UIView

        /* Usage for swift < 3.x
        let bundle = NSBundle(forClass: self.dynamicType)
        let nib = UINib(nibName: String(self.dynamicType), bundle: bundle)
        let view = nib.instantiateWithOwner(self, options: nil)[0] as! UIView
        */

        return view
    }
}
@IBDesignable and @IBInspectable
By adding @IBDesignable to your class, you make possible for it to live-render in Interface Builder.
By adding @IBInspectable to the properties of your class, you can see your custom views changing in Interface Builder as soon as you modify those properties.
Let’s make the Image View of our custom view “Inspectable”.
First, hook up the Image View from the Pokemon.xib file to the Pokemon.swift class.

Call the outlet imageView and then add the following code (notice the @IBDesignable before the class name):
@IBDesignable class Pokemon: UIView {
// MARK: - Properties
@IBOutlet weak var imageView: UIImageView!
@IBInspectable var image: UIImage? {
get {
return imageView.image
}
set(image) {
imageView.image = image
}
}
// MARK: - Initializers
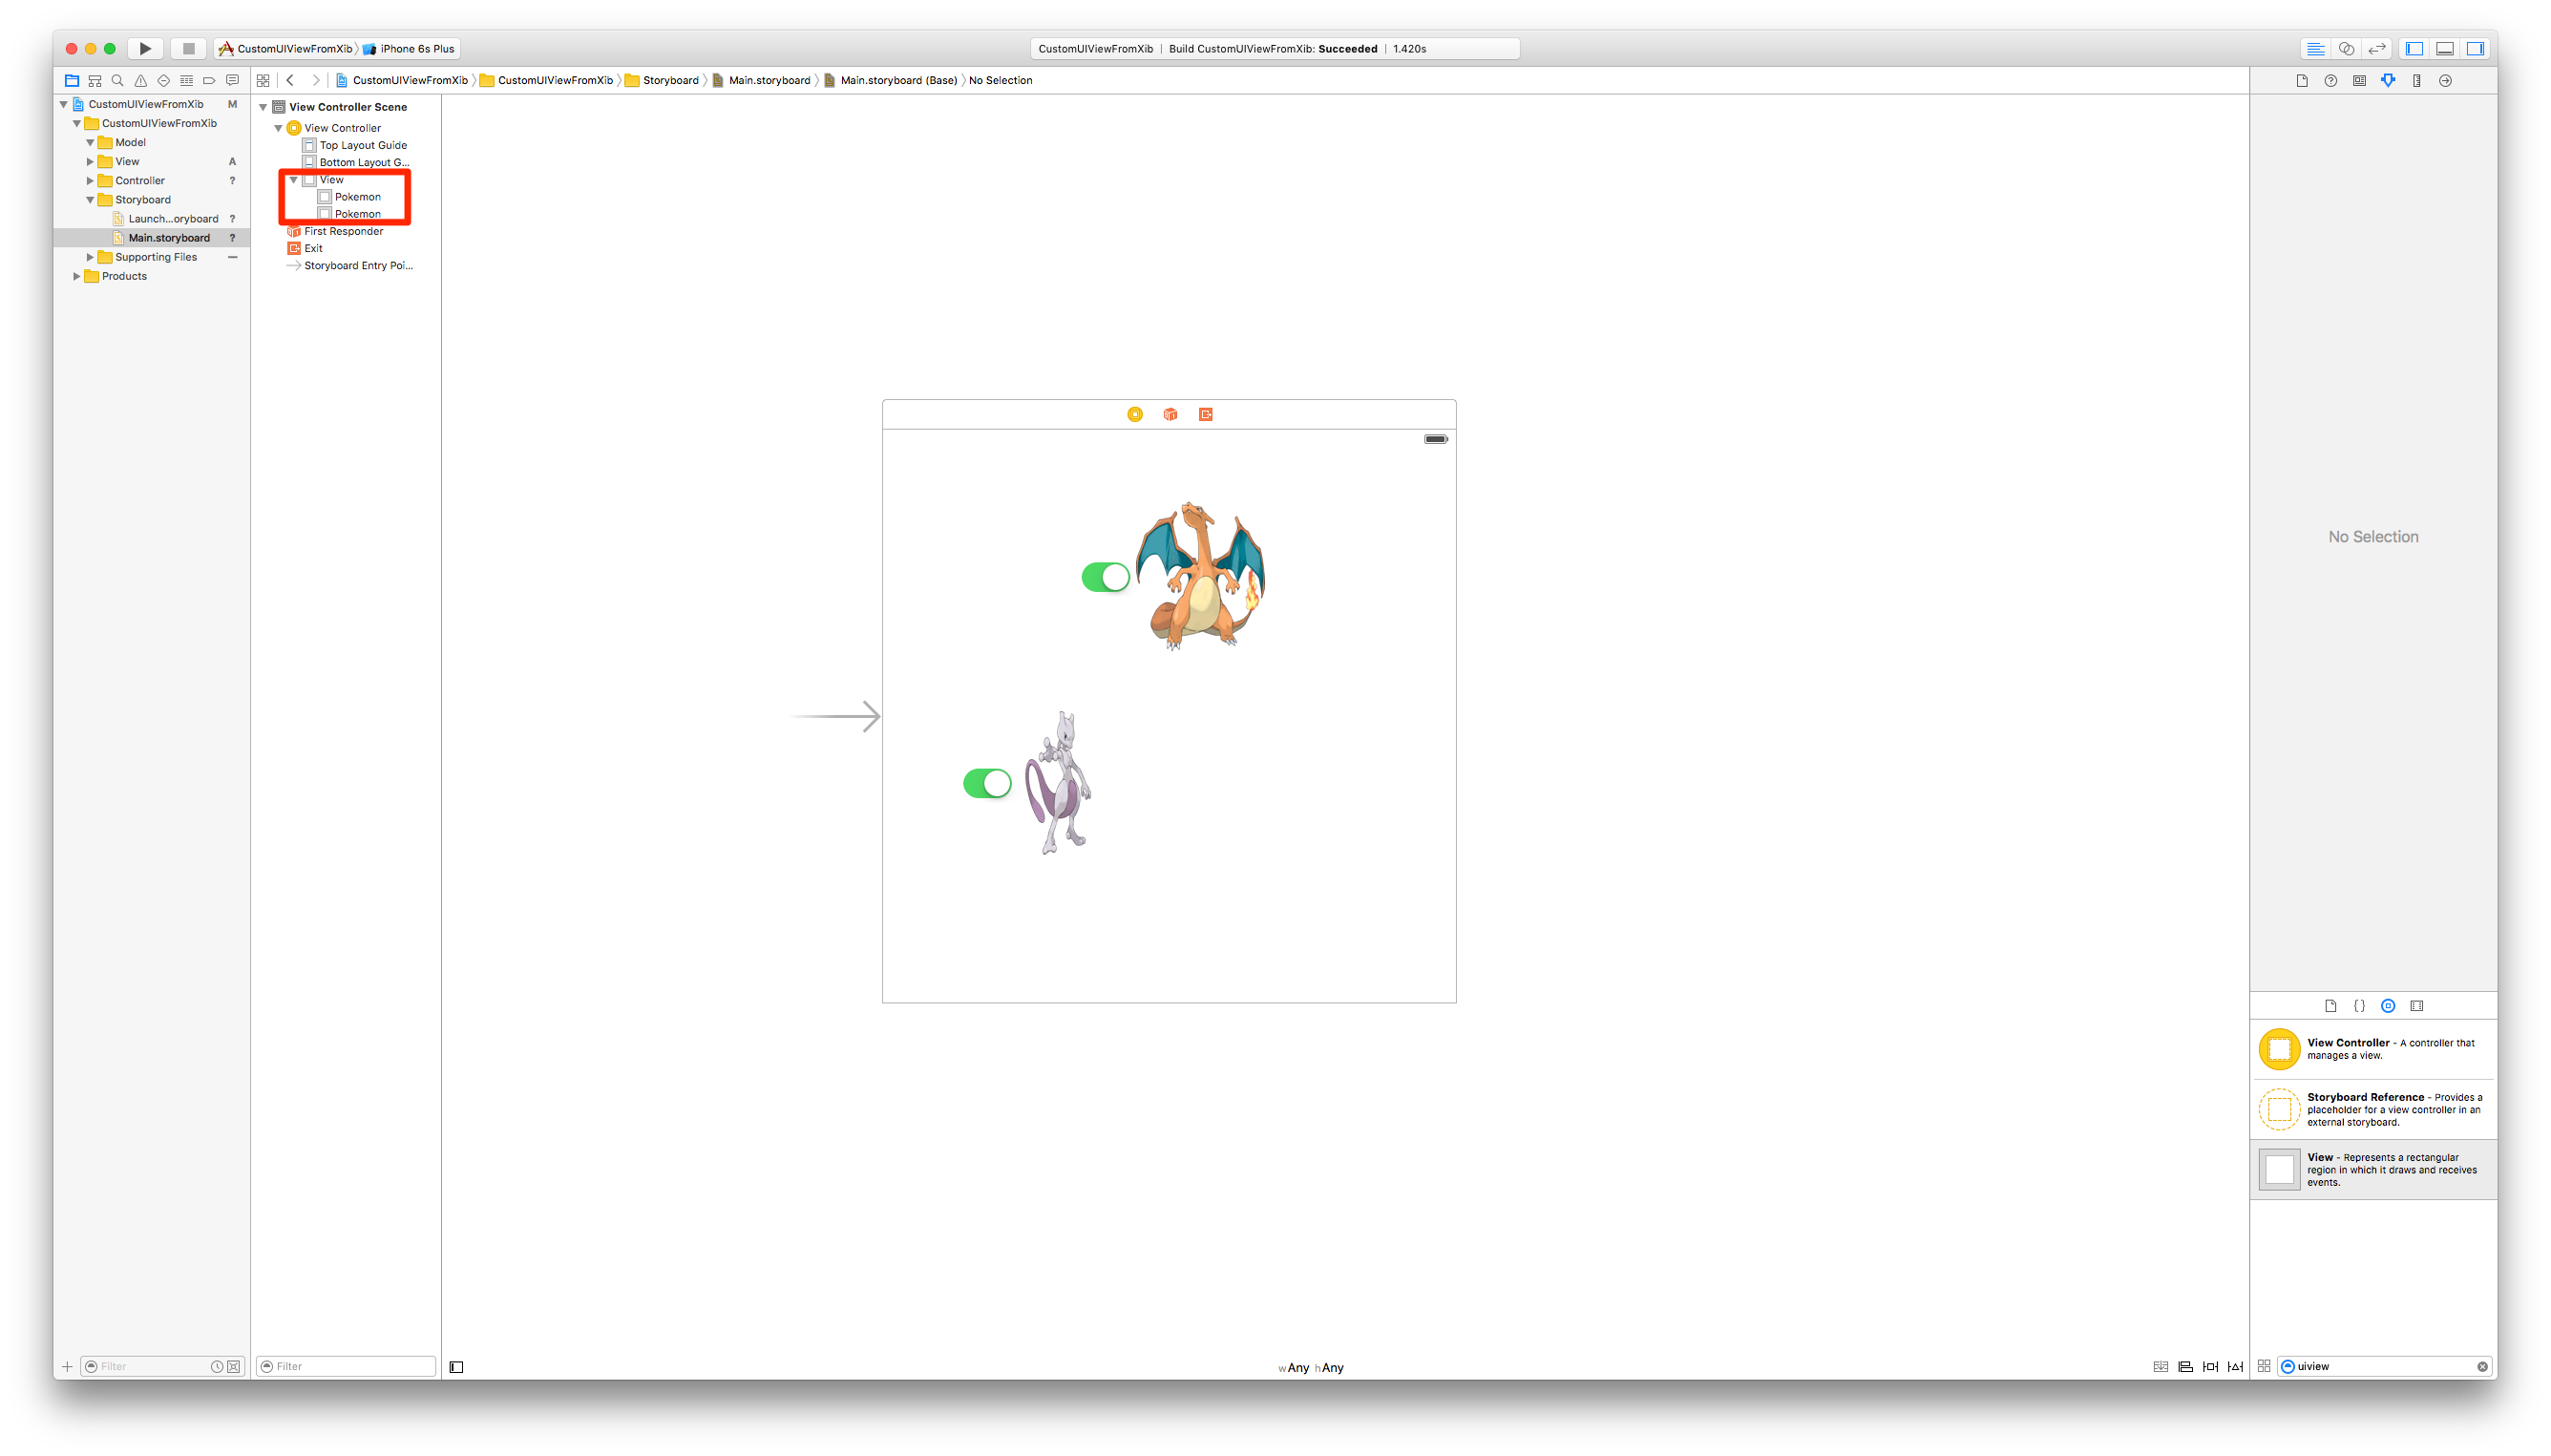
...Using your Custom Views
Got to your Main storyboard file, drag a UIView into it.
Resize the view to, say 200x200. Centralize.
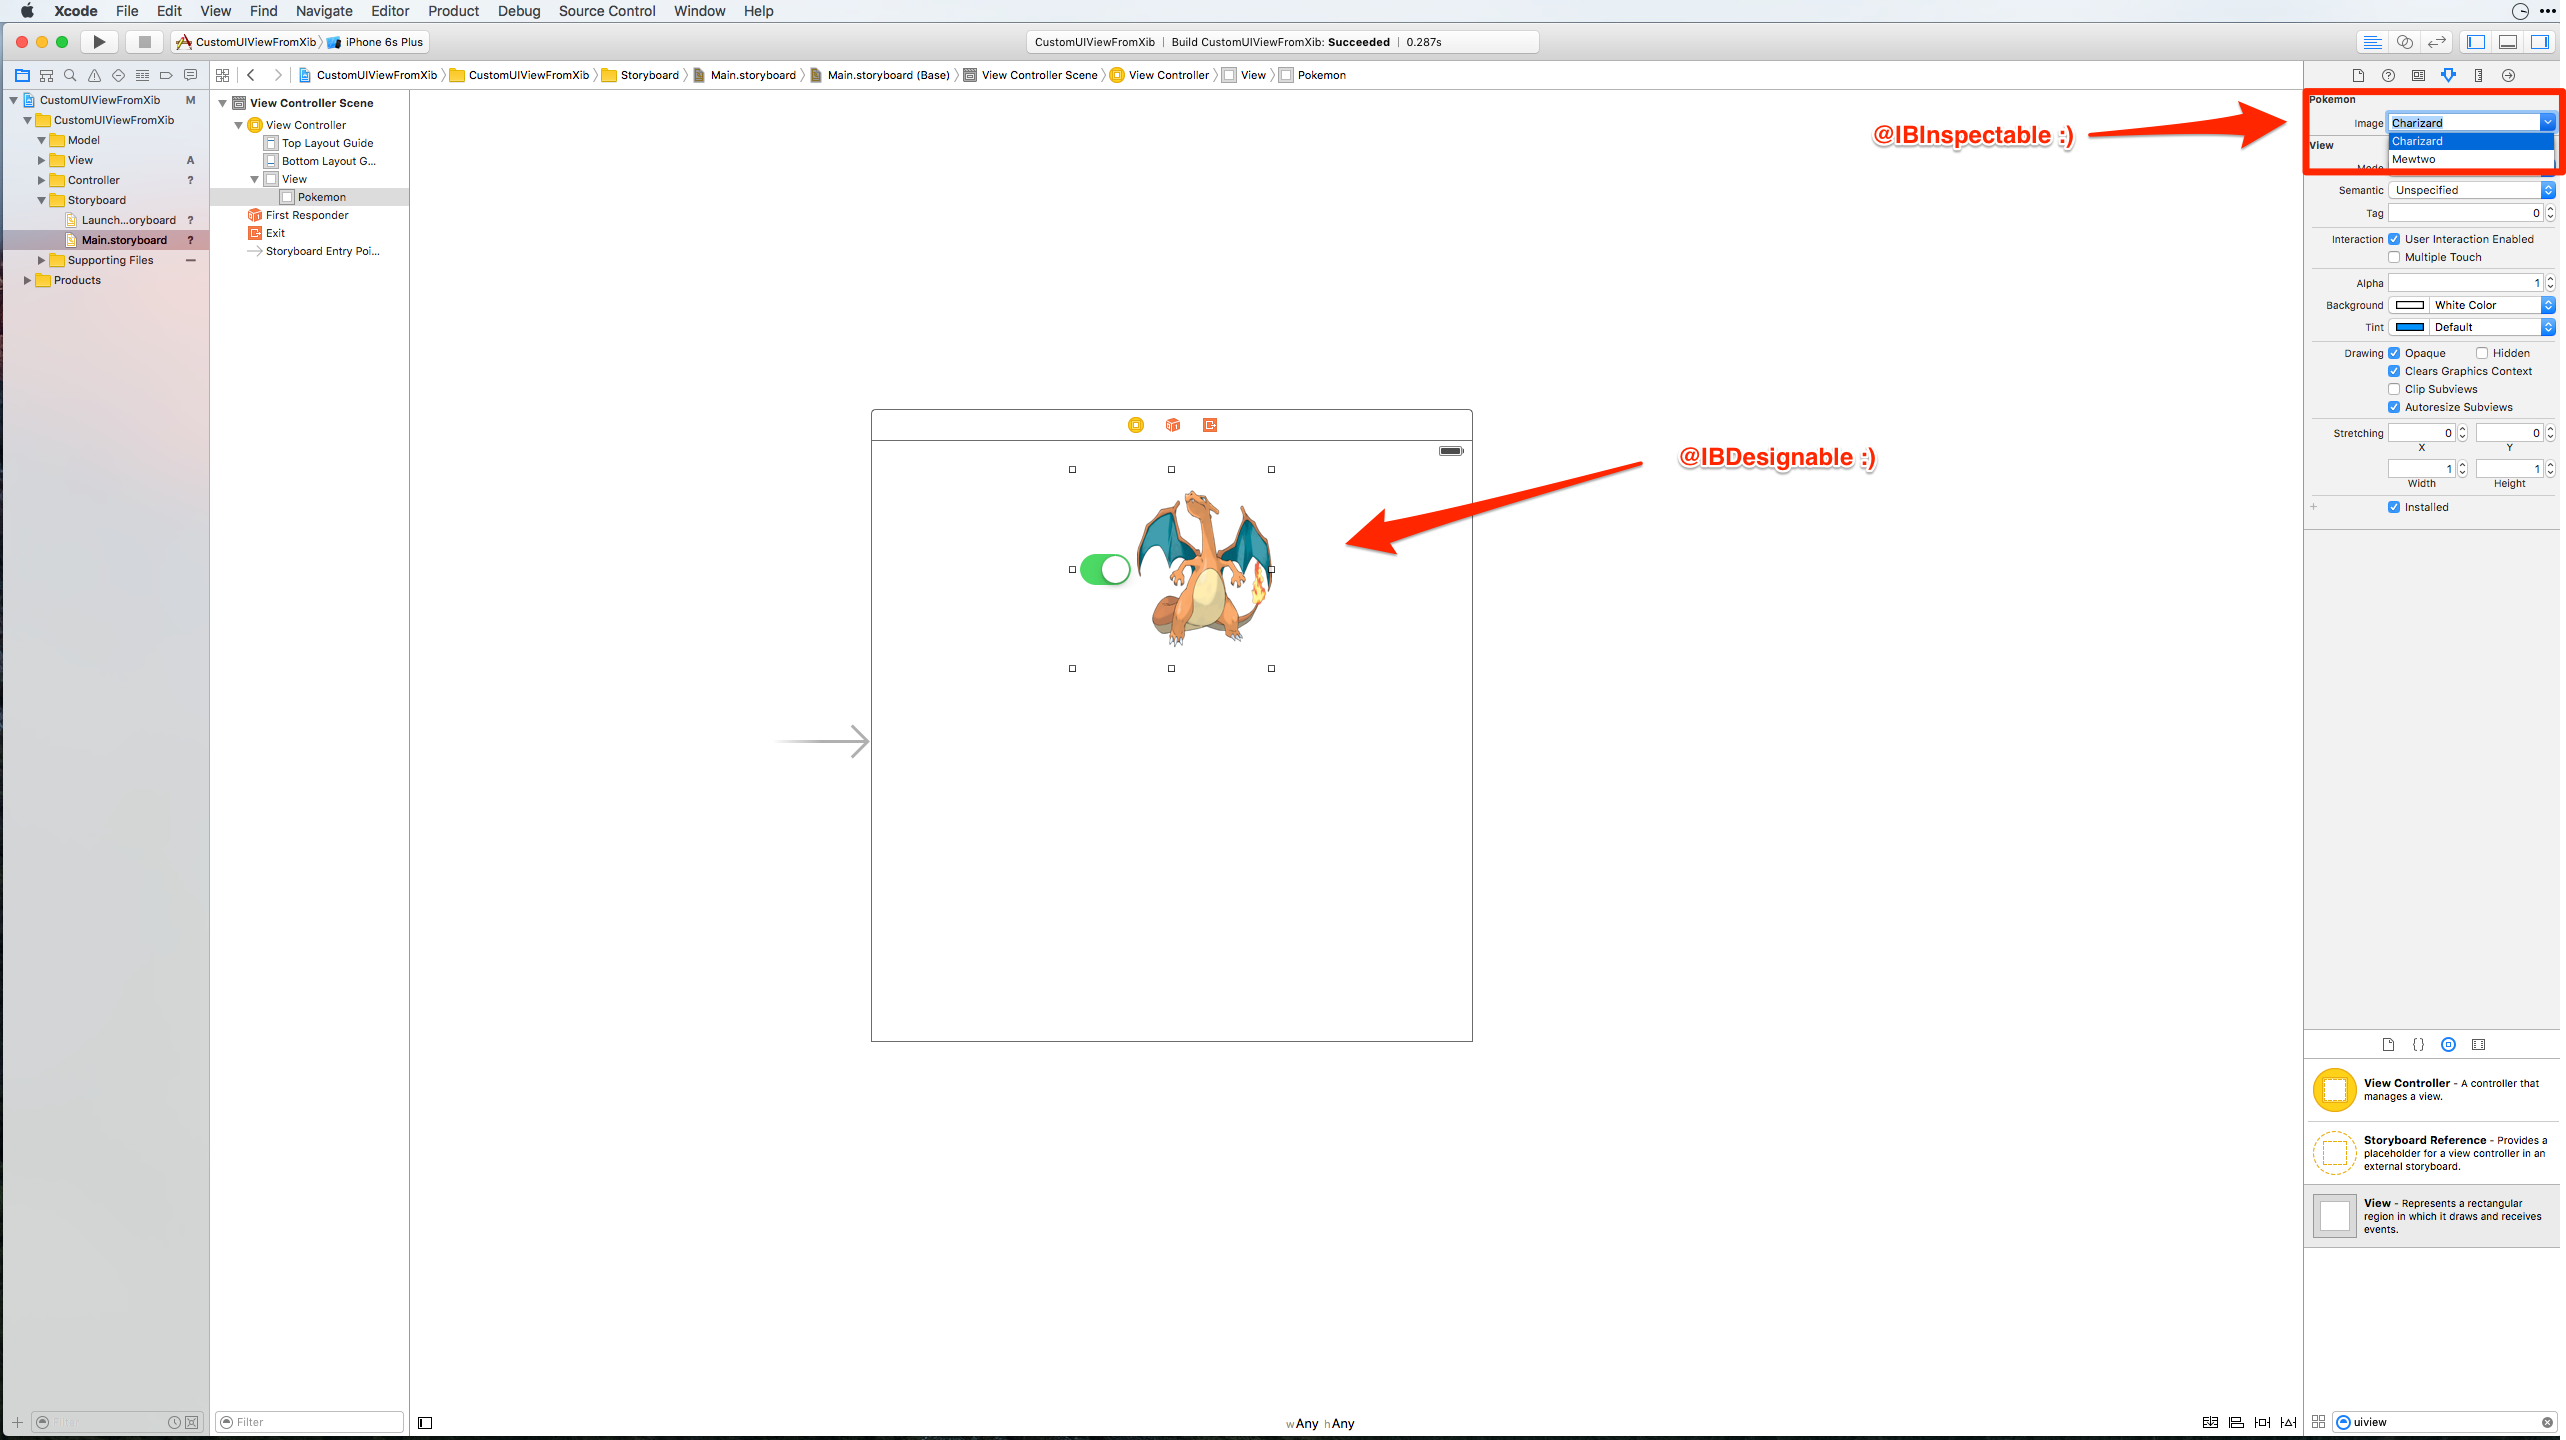
Go to the Identity inspector (top-right) and set the Class to Pokemon.

To select a Pokemon, go to the Attribute Inspector (top-right) and select one of the Pokemon images you previously added using the awesome @IBInspectable image property.
Now duplicate your custom Pokemon view.
Give it a different size, say 150x150.
Choose another Pokemon image, observe:
Now we are going to add more logic to that self-containing custom UI element.
The button will allow Pokemons to be enabled/disabled.
Create an IBAction from the Switch button to the Pokemon.swift class.
Call the action something like switchTapped.
Add the following code to it:
// MARK: - Actions

@IBAction func switchTapped(sender: UISwitch) {
    imageView.alpha = sender.on ? 1.0 : 0.2
}

// MARK: - Initializers
...
Final result:
You are done!
Now you can create complex custom views and reuse them anywhere you want.
This will increase productivity while isolating code into self-contained UI elements.
The final project can be cloned in Github.
(Updated to Swift 3.1)